
You have no items in your shopping cart.
Loading...

Fitting a caravan reversing camera is usually a weekend job you can tackle yourself, but only if three things line up: the camera has a reliable power feed, the wireless signal reaches the tow vehicle without dropping out, and you have tested the whole setup before you rely on it in a tight campsite. Get any of those wrong and you end up with a screen that either shows nothing or, worse, flickers off just as you swing the van back towards an awning.
This guide walks through the sequence in the order that keeps you out of trouble, starting with the checks to make before you drill anything, then where and how to mount the camera, how to power it for reverse-only or constant rear vision, setting up and pairing the monitor, and a final round of testing. Along the way it flags the points where calling an auto electrician is the smarter move.
Before any drilling or cutting, lay the kit out and confirm it is complete: camera, monitor or receiver, aerials, mounting hardware, power leads, fuses and the pairing instructions. Missing a fuse or a grommet halfway through is how a tidy job turns into a bodge.
Check too that the voltage range suits your caravan and tow vehicle. Both usually run a 12V system, but don't assume a kit is right just because the box says 'RV' or 'caravan'; read the specification and match it. It also helps to be clear about what 'wireless' actually means here, because in almost every kit it is only the video signal that travels wirelessly. Modern systems handle this well, transmitting HD pictures through caravan cladding at distances up to around 12 metres, but the camera itself still needs a local 12V power source on the van, so there is always some wiring to do at the rear.
The decision that shapes the rest of the job is whether you want the camera to work only when reversing or to give constant rear vision while driving, since that determines whether you power it from a reversing light, a marker light or a dedicated feed. Sort that out now.
With that settled, gather your tools: a drill and suitable bits, screwdriver, wire stripper and crimper, a multimeter or voltage tester, heat-shrink or weatherproof connectors, cable ties, split conduit, grommets and caravan-safe sealant, most of which you can source from an rv parts supplier in Australia. On safety, isolate the power where you can, keep well away from hidden wiring, plumbing and structural sections when drilling, support the cable against vibration, and seal every hole you make in the exterior.
Pick a rear position high enough to see past the caravan's rear bumper and give real depth behind the van, but not so high that close obstacles drop out of shot when you are inches from something. Aim for a view that shows the ground immediately behind the van as well as roughly 15 to 20 feet of distance behind it.
Keep the camera on or very near the caravan centreline, because an off-centre camera makes the image awkward to read when reversing and throws off any guide lines the system displays. As for the exact spot, mounting above the number plate is the simplest option and often needs no extra drilling, since the number plate light housing gives you access to wiring, though it does sit low. A higher position on the rear wall or near the roofline usually gives a better overall picture, at the cost of a slightly harder cable run.
Before you fix anything, hold the camera in place and check the field of view for real: the ground close behind the van, both rear corners, and the approach path you will actually reverse along. Once you're happy, mark the holes, drill pilot holes where appropriate and use a grommet wherever the cable passes through the body, taking care not to crush or kink the power lead at the entry point. Finish by waterproofing properly, with a bead of sealant behind the bracket, around the screws and around the cable entry, while leaving the camera housing and any drain paths clear.
This is the main decision in a wireless caravan setup. The video may be wireless, but the camera still needs a steady 12V feed and a good earth, and where you take that feed from decides how the camera behaves.
For reverse-only operation, connect to the caravan's reversing light circuit so the camera wakes only when you select reverse. It is the simplest wiring and avoids unnecessary running time, but it won't show you traffic behind while you are driving. For constant rear vision, power the camera from the rear marker lights, a switched accessory feed or a dedicated fused feed, depending on how your caravan is wired; bear in mind that a marker-light feed usually means the camera only works when the lights are on.
Whichever you choose, use a multimeter to find the positive feed and earth rather than trusting wire colours, and confirm when the circuit is actually live before making the final joint. If you tap the reversing light, test it with the tow vehicle in reverse. Make joints with weatherproof crimp connectors or soldered and sealed connections, apply dielectric grease to keep corrosion out, protect exposed cable with conduit, secure it against vibration, and fit an appropriate fuse on any new or dedicated feed.
Bring in an auto electrician if you can't identify the correct circuit, you find non-standard wiring, you need a dedicated feed run through the van, or you are unsure about fusing and the extra load on an existing circuit. A poor ground, in particular, causes more intermittent faults than almost anything else, so it is worth getting right.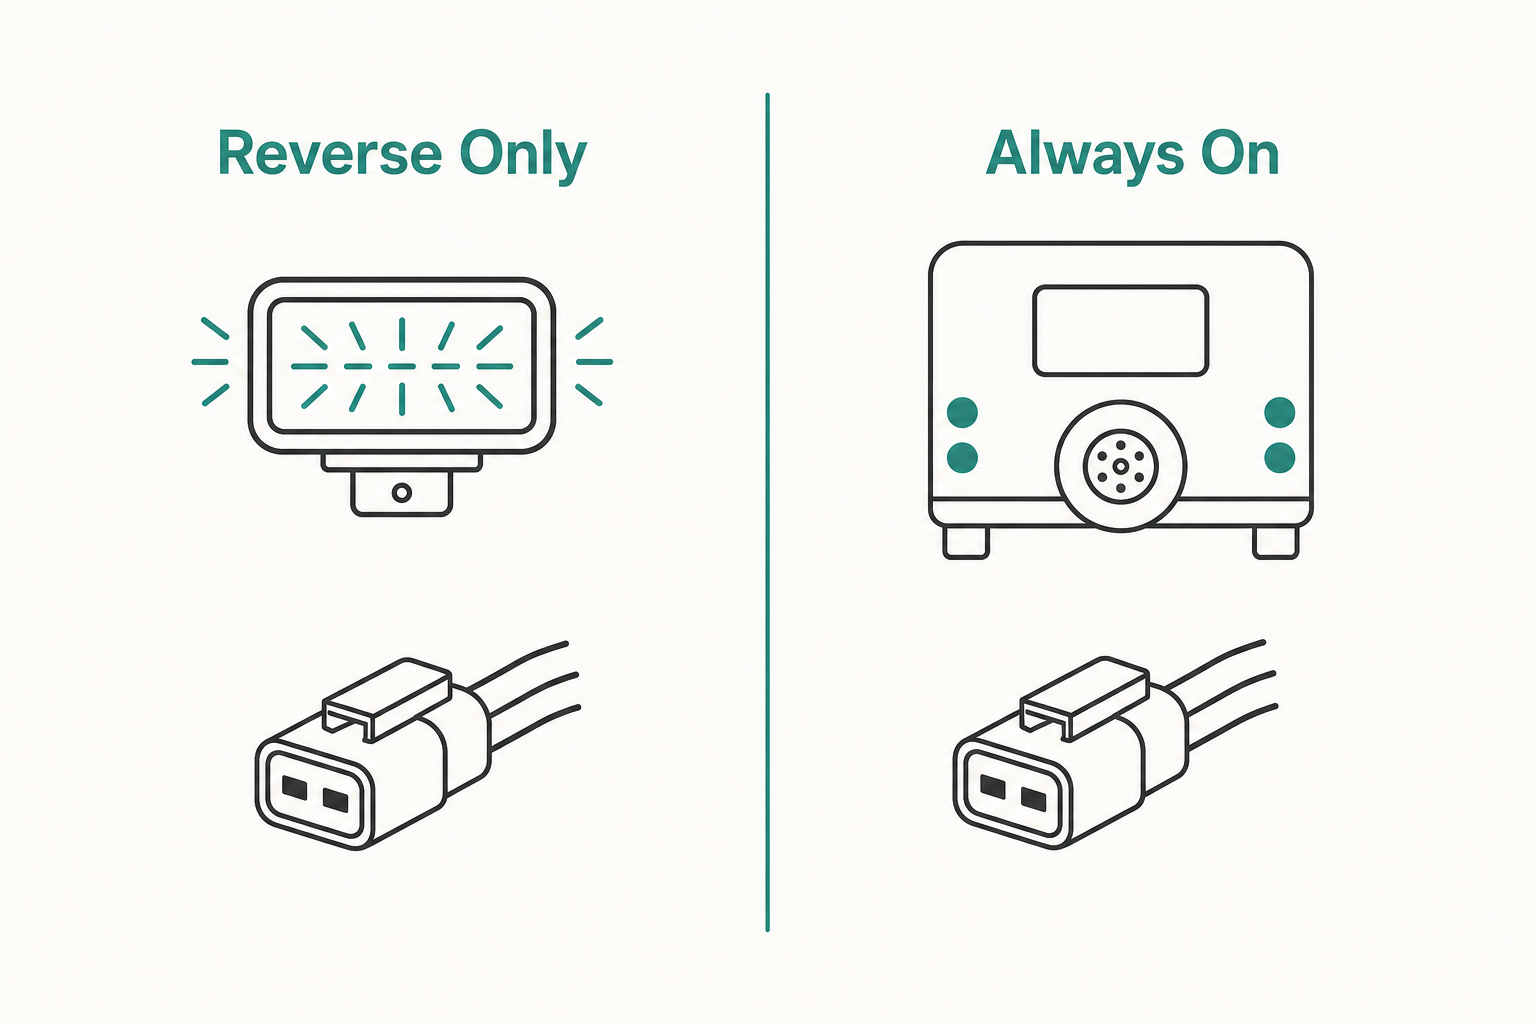
Reverse only versus always on camera wiring compared side by side.
Mount the monitor where the driver can glance at it without blocking the windscreen, mirrors, airbags or normal controls. Common choices are a dash mount, a suction-cup mount on the windscreen that lifts off for storage, or a clip-on mirror-style monitor that works as a normal mirror until powered on; the mirror type suits constant rear vision because you can watch it as you drive.
Power the monitor from a 12V accessory socket for a simple, removable setup, or hardwire it to a switched accessory supply for a neater permanent one. Fit or orient the receiver aerials as the instructions specify, keep them clear of large metal obstructions, and don't tuck the receiver somewhere that starves it of signal.
Pairing is often automatic on digital systems, while others need a sync button pressed on both units or a menu selection, so follow the kit's own steps. Crucially, do your first proper test with the caravan hitched, the tow vehicle running and the camera powered, because signal reliability can change once the vehicle and van are in their real towing positions. If the image drops out, reposition the aerials, shift the monitor or receiver a little, check that the camera power is stable and move the monitor's power lead away from other electronics before you conclude the camera is faulty.
Start stationary. Confirm the monitor powers on, the camera image appears at the right moment, the picture is the right way up, and the left-right orientation feels natural, so that turning the wheel left moves things left on screen. On a reverse-triggered system, the picture should establish within a couple of seconds of selecting reverse.
Next, fine-tune the aim. Walk behind the van and adjust the camera so you can see the ground close behind it as well as enough distance to judge your approach, then tighten the bracket fully once the view is right. If your system shows guide lines, sanity-check them against objects at known distances; fixed guide lines rarely match a caravan's exact width or turning path, so treat them as aids rather than measurements. Test in daylight, low light and full darkness if the camera has infrared, and wipe the lens clean before you judge picture quality.
Most faults fall into two groups. No image at all usually points to a blown fuse, no camera power, a poor earth, a failed pairing or a monitor power problem, so work back through those with a voltage tester. An intermittent or breaking-up image usually means weak signal, a loose connection, water in a joint or voltage drop. Finish with a real road and reversing check in a safe, open area.
Stop the DIY job and call an auto electrician if fuses keep blowing, any wire gets warm, water has found its way into a connection, or you are simply not sure the camera is on a safe, correctly fused circuit. Those are the situations where guessing is not worth it.
You need to choose options for your item for estimaste shipping
